|
Using effects on video and audio can really bring out a feeling in a video. I learned how to speed up video, distort audio, and do rolling credits. I found rolling credits easy, but doing L and J cuts was a little difficult trying to make them line up correctly. I want to use the skills I learned on a video game I play and make a little trailer for it.
0 Comments
In my opinion, this was the same as the last project. My views on working with video clips and photos are still the same. But I did learn that you should also name your video files, it gets tiring shifting through all of them trying to find the correct one. I feel like I got a good hold on the 180 rule and have done it well in this video. Easiest part was cutting out everything. the hardest was figuring out which clip was what. My overall thoughts haven't changed and I still find this really fun.
The difference between using video segments instead of still photos is that when you cut, you have to make sure that the video and audio still make sense and are not cut off to early. A still image can be cut anywhere and still be the same and you don't need to worry about it. The hardest part was fitting the video into the time limit, as it took some flandangiling to get it just right. I really like working with video segments and I want to make my own. Audio is fun too, it adds a little bit of spice to the overall video.
[object Object]
This project introduced me to the basics of adding effects, most transitions. Working with video clips adds a little bit of complexity because if you trim some of the footage down you may loose part of it that you want. Again the most difficult part was finding the footage and music because most of the work was drag and drop like the last project. I like working with it though, I can see myself making little videos from now on. I do wish however the effects menu was not so hidden as it takes a bit to find.
This wasn't my first time using premiere pro, so this project took me 20 minutes, it took longer to find all the images than to actually make the video. Being able to drop Adobe Illustrator files right into the program helped though, as the title card I just threw together in that program. Everything else was just drag and drop, I hope we get to go more in depth later. My overall thoughts that its cool, I just haven't seen enough of it.
I made a movie poster on the videogame Helldivers 2. I used many tools for this project and got to experiment with them. The planet and space is a single gradient. The starts in the background are a mix of the flare tool and a custom brush that I created to paint over everything to make the layout look more random look. The land on the planet uses the shape tool, shape maker, the blend tool, and pen tool. I also used the Warp, Bloat, Crystalize, wrinkle, scallop, twirl, and pucker tool n them to make them look like a land mass. The ship and pods are just shape tools and the pen tool. The text is text. I had a fun time making this poster and would like to see a helldivers 2 movie soon! 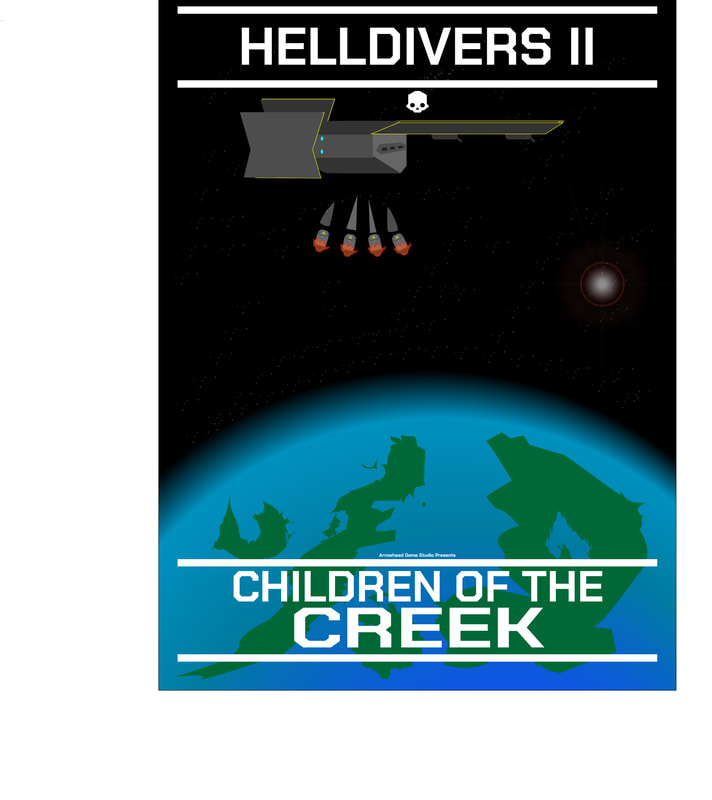 This quarter in my opinion was the easiest by fair. I have already taken illustrator in my other class so when we started this quarter I was already ahead of the game. We worked on how to make menus and basic shapes with it. I am still reaching my long term goals of making my own streaming assets, as I have started to use the skills I have learned into making animated screens for streaming and teaching myself adobe premiere pro. I do visibly see that I am improving which I cannot say for a lot of other subjects. I am excited to see what we do next quarter.
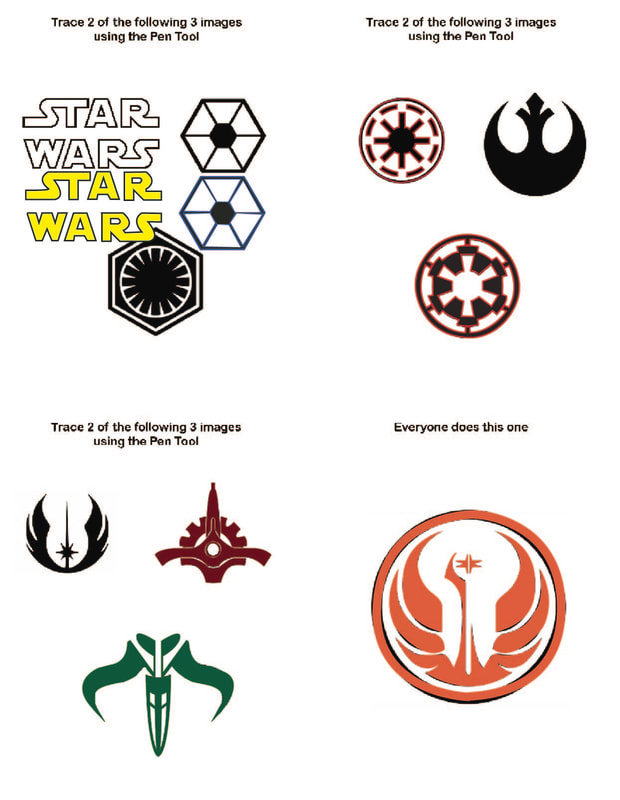 This activity helped me learn the pen tool more by letting me use it with weirder and less natural shapes. It was overall and easy project and it was some nice downtime to always learning something. I think they came out well and I am excited to try to make my own.
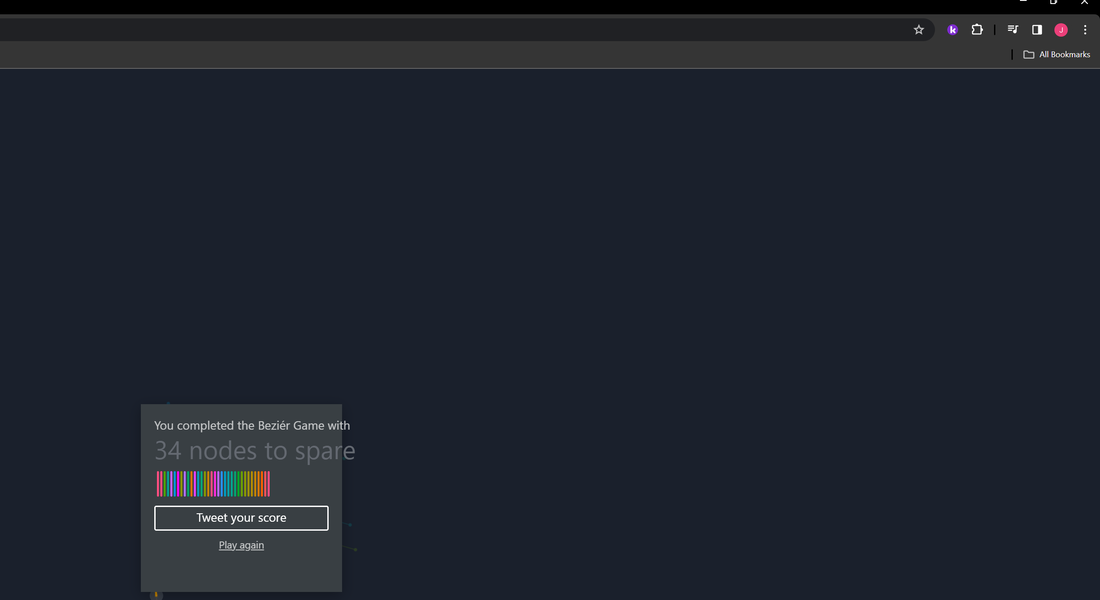 I already knew how to use the pen tool somewhat before I started this, so I had a slight advantage. I feel comfortable using the pen tool and all of it's features. I finished the game with 34 extra nodes, so I did pretty well. I even found a way to better than the recommended score on one of the levels. Overall, a fun way to get used to the pen tool.
I made these badges for my CMA class as well as a game I play where I am an officer in the Air-Force division. I am going to go over each of them based on what the skill level is. (Beginner) CMA First Folder Badge: This badge is for when you create your first online folder on your desktop for CMA. The folder is made up of 2 custom shapes I made with the pen tool. The background color is based off of the wall color in the CMA classroom. I put this in the beginner category because this is just putting shapes together and I believe any beginner could do it. (Easy) TAC Instructor of the Week. This badge is for the instructor in Tactical Air Command for a Vietnam game I play whenever they host the most events. The main design is a calendar graphic that I made myself with 7 stars around it each signifying a day. At the bottom we see the insignia for TAC that I also made myself. I put this in easy because it is pretty much the same as the first one, however you do need to use the type on a path tool. (Intermediate) TAC Wing Commander. This badge is worn by the commander of the 470 F4 phantom jet fighter black and white vector design Free Vector by wisnu aji <a href="https://www.vecteezy.com/free-vector/plane">Plane Vectors by Vecteezy</a>
|
Author15 year old student digital artist. Archives
May 2024
Categories |
 RSS Feed
